Astro Starlight Documentation - How to easily create project documentation using Cloudron Surfer and Gogs
-
This is an attempt to create a helpful tutorial. Feedback would help.
The idea is to encourage more people to document their projects using Astro Starlight and easily accomplish this using Cloudron.
Complete Guide: Astro Starlight Documentation with Cloudron (Gogs + Surfer)
A comprehensive guide to setting up beautiful Astro Starlight documentation locally and deploying it to Cloudron using Surfer for hosting and optionally Gogs for version control.
Prerequisites
- Cloudron instance running at
my.cloudron.xyz - Surfer app installed on Cloudron at
surfer.cloudron.xyz - Gogs app installed on Cloudron at
gogs.cloudron.xyz(optional) - Node.js installed locally
- Git configured locally
- PowerShell (Windows) or equivalent terminal
Stage 1: Project Creation and Setup
Commands
# Navigate to your desired project location (AVOID SPACES IN PATH)
Set-Location "C:\Projects"

# Create new Astro Starlight project with TypeScript strict mode
npm create astro@latest myastrowebsite -- --template starlight --typescript strict

# Navigate into project
Set-Location myastrowebsite

# Verify TypeScript strict mode
Get-Content tsconfig.json | Select-String "strict"

# Install dependencies (if not auto-installed)
npm install

# Verify installation works
npm run build
Troubleshooting & Notes
- Critical: Avoid spaces in project paths - use
C:\Projects\myastrowebsitenotC:\My Projects\My Website - TypeScript Check: Must see
"extends": "astro/tsconfigs/strict"in tsconfig.json - Build Test: Should show "X page(s) built" without errors
- Common Issue: If
npm createfails, trynpm cache clean --forcefirst - Windows Users: Use PowerShell, not Command Prompt for best results
- Git Repository: No. Setup manually later
Stage 2: Content Structure Creation
Commands
# Create all directory structure BEFORE modifying config
New-Item -ItemType Directory -Path "src/content/docs/getting-started" -Force
New-Item -ItemType Directory -Path "src/content/docs/concepts" -Force
New-Item -ItemType Directory -Path "src/content/docs/guides" -Force
New-Item -ItemType Directory -Path "src/content/docs/reference" -Force
New-Item -ItemType Directory -Path "src/content/docs/advanced" -Force
New-Item -ItemType Directory -Path "src/content/docs/community" -Force

# Create all content files with minimal frontmatter
@"
---
title: Installation
description: How to install the project
---

# Installation

Installation instructions go here.
"@ | Out-File -FilePath "src/content/docs/getting-started/installation.md" -Encoding UTF8

@"
---
title: Setup
description: How to set up the project
---

# Setup

Setup instructions go here.
"@ | Out-File -FilePath "src/content/docs/getting-started/setup.md" -Encoding UTF8

# Continue creating all referenced files...
# (Create files for: concepts/*, guides/*, reference/*, advanced/*, community/*)

# Verify all files exist
Get-ChildItem -Recurse src/content/docs/ -Name
Troubleshooting & Notes
- Critical Rule: Create ALL content files BEFORE modifying astro.config.mjs
- File Naming: Use lowercase with hyphens:
getting-started.mdnotGetting Started.md - Frontmatter: Keep it simple initially - just
titleanddescription - Common Error: "File not found" during build means a sidebar slug doesn't match an existing file
- Best Practice: Use minimal content initially, expand later
Stage 3: Configuration for Subdirectory Deployment
Commands
# Update astro.config.mjs for Surfer subdirectory deployment
@"
// @ts-check
import { defineConfig } from 'astro/config';
import starlight from '@astrojs/starlight';

export default defineConfig({
  base: '/myastrowebsite',
  integrations: [
    starlight({
      title: 'My Astro Website Documentation',
      description: 'Beautiful documentation powered by Starlight',
      social: [
        {
          icon: 'github',
          label: 'Repository',
          href: 'https://gogs.cloudron.xyz/myuser/myastrowebsite'
        }
      ],
      editLink: {
        baseUrl: 'https://gogs.cloudron.xyz/myuser/myastrowebsite/src/branch/main/src/content/docs/',
      },
      sidebar: [
        {
          label: 'Getting Started',
          items: [
            { label: 'Introduction', slug: 'index' },
            { label: 'Installation', slug: 'getting-started/installation' },
            { label: 'Setup', slug: 'getting-started/setup' }
          ]
        },
        // Add other sections as needed
      ]
    })
  ]
});
"@ | Out-File -FilePath "astro.config.mjs" -Encoding UTF8

# Test local development server
npm run dev
Troubleshooting & Notes
- Critical Setting:
base: '/myastrowebsite'- must match your Surfer folder name - Local Development: The
basesetting is ignored locally -localhost:4321still works - Sidebar Slugs: Every slug must match an existing file exactly (without .md extension)
- Edit Links: Update the baseUrl to point to your Gogs instance
- Social Links: Use
hrefproperty, notlink - Dev Server: Should start at
http://localhost:4321/with beautiful Starlight theme
Stage 4: Git Repository Setup (Optional)
Commands
# Configure git (replace with your details)
git config --global user.name "Your Name"
git config --global user.email "your.email@example.com"

# Initialize repository
git init

# Create .gitignore
@"
# Dependencies
node_modules/
.pnpm-debug.log*

# Environment
.env
.env.*

# Astro
.astro/
dist/

# IDE
.vscode/
.idea/

# OS
.DS_Store
Thumbs.db

# Logs
*.log
"@ | Out-File -FilePath ".gitignore" -Encoding UTF8

# Add remote (create repository in Gogs first)
git remote add origin https://gogs.cloudron.xyz/myuser/myastrowebsite.git

# Initial commit and push
git add .
git commit -m "Initial commit: Astro Starlight documentation setup"
git push -u origin main
Troubleshooting & Notes
- Repository Creation: Create the repository in Gogs web interface FIRST
- Authentication: You'll be prompted for Gogs username/password
- Branch Name: Modern Git uses
main, older versions usemaster - Push Errors: If "src refspec main does not match any", run
git branch -M mainfirst - Credentials: Consider using SSH keys for easier authentication
- Optional Step: Skip this if you don't want version control
Stage 5: Building for Production
Commands
# Build static site
npm run build

# Verify build success
Get-ChildItem dist

# Check critical folders exist
Test-Path "dist/_astro"
Test-Path "dist/pagefind"

# Optional: Test build locally
npx serve dist
Troubleshooting & Notes
- Build Output: Should show "X page(s) built" without TypeScript errors
- Critical Folders:
_astro/(styling) andpagefind/(search) must exist - Sitemap Warning: "Sitemap integration requires site option" is harmless
- Build Size: Expect ~20+ pages for a basic Starlight setup
- Local Testing:
npx serve distlets you test the built site locally - Common Issue: Build failures usually mean missing content files or config errors
Stage 6: Surfer Deployment
Commands
# No PowerShell commands - this is done via web interface
Write-Host "1. Open browser to: https://surfer.cloudron.xyz"
Write-Host "2. Login with Cloudron credentials"
Write-Host "3. Create new folder: myastrowebsite"
Write-Host "4. Upload ALL contents from dist/ folder"
Write-Host "5. Verify deployment at: https://surfer.cloudron.xyz/myastrowebsite/"
Deployment Steps
- Access Surfer: Navigate to
https://surfer.cloudron.xyz - Login: Use your Cloudron credentials
- Create Folder: Name it exactly as specified in your
baseconfig - Upload Files: Upload ALL contents from your local
dist/folderindex.html(homepage)_astro/folder (critical - contains all CSS/JS)pagefind/folder (critical - enables search)- All documentation folders (
getting-started/,concepts/, etc.) 404.htmlandfavicon.svg
- Verify: Visit
https://surfer.cloudron.xyz/myastrowebsite/
Troubleshooting & Notes
- No Styling: Usually means
_astro/folder missing orbaseconfig wrong - Broken Search: Means
pagefind/folder missing - 404 Errors: Check that folder name in Surfer matches
basein config exactly - Upload Methods: Drag-and-drop or use Surfer's upload interface
- Permissions: Ensure uploaded files are web-accessible
- Folder Structure: Must preserve exact folder structure from
dist/
Stage 7: Update Workflow
Commands
# Daily workflow for updates
# 1. Edit content files locally
# 2. Test changes
npm run dev
# (Check at http://localhost:4321/)

# 3. Commit changes (if using Gogs)
git add .
git commit -m "Update documentation"
git push

# 4. Build for deployment
npm run build

# 5. Upload new dist/ contents to Surfer
Write-Host "Upload new dist/ contents to Surfer folder"
Troubleshooting & Notes
- Hot Reloading: Local dev server updates instantly when you save files
- Build Before Deploy: Always run
npm run buildbefore uploading to Surfer - Incremental Updates: You can upload individual files/folders to Surfer
- Version Control: Commit to Gogs regularly, deploy to Surfer when ready
- Backup Strategy: Gogs serves as your backup and version history
Common Issues & Solutions
Build Failures
- Missing Files: Every sidebar slug must have a corresponding .md file
- TypeScript Errors: Check tsconfig.json has strict mode enabled
- Import Errors: Ensure all dependencies installed with
npm install
Styling Issues on Surfer
- No CSS: Check
baseconfig matches Surfer folder name exactly - Missing Assets: Ensure
_astro/folder uploaded completely - Path Issues: Verify all files uploaded with correct folder structure
Git Issues
- Push Failures: Repository must exist in Gogs before first push
- Authentication: Use HTTPS with username/password or set up SSH keys
- Branch Issues: Modern Git uses
main, may needgit branch -M main
Performance Tips
- Local Development: Keep dev server running while editing
- Efficient Deployment: Only upload changed files to Surfer after initial deploy
- Search Functionality: Ensure
pagefind/folder always uploaded for search to work
Final Result
You'll have:
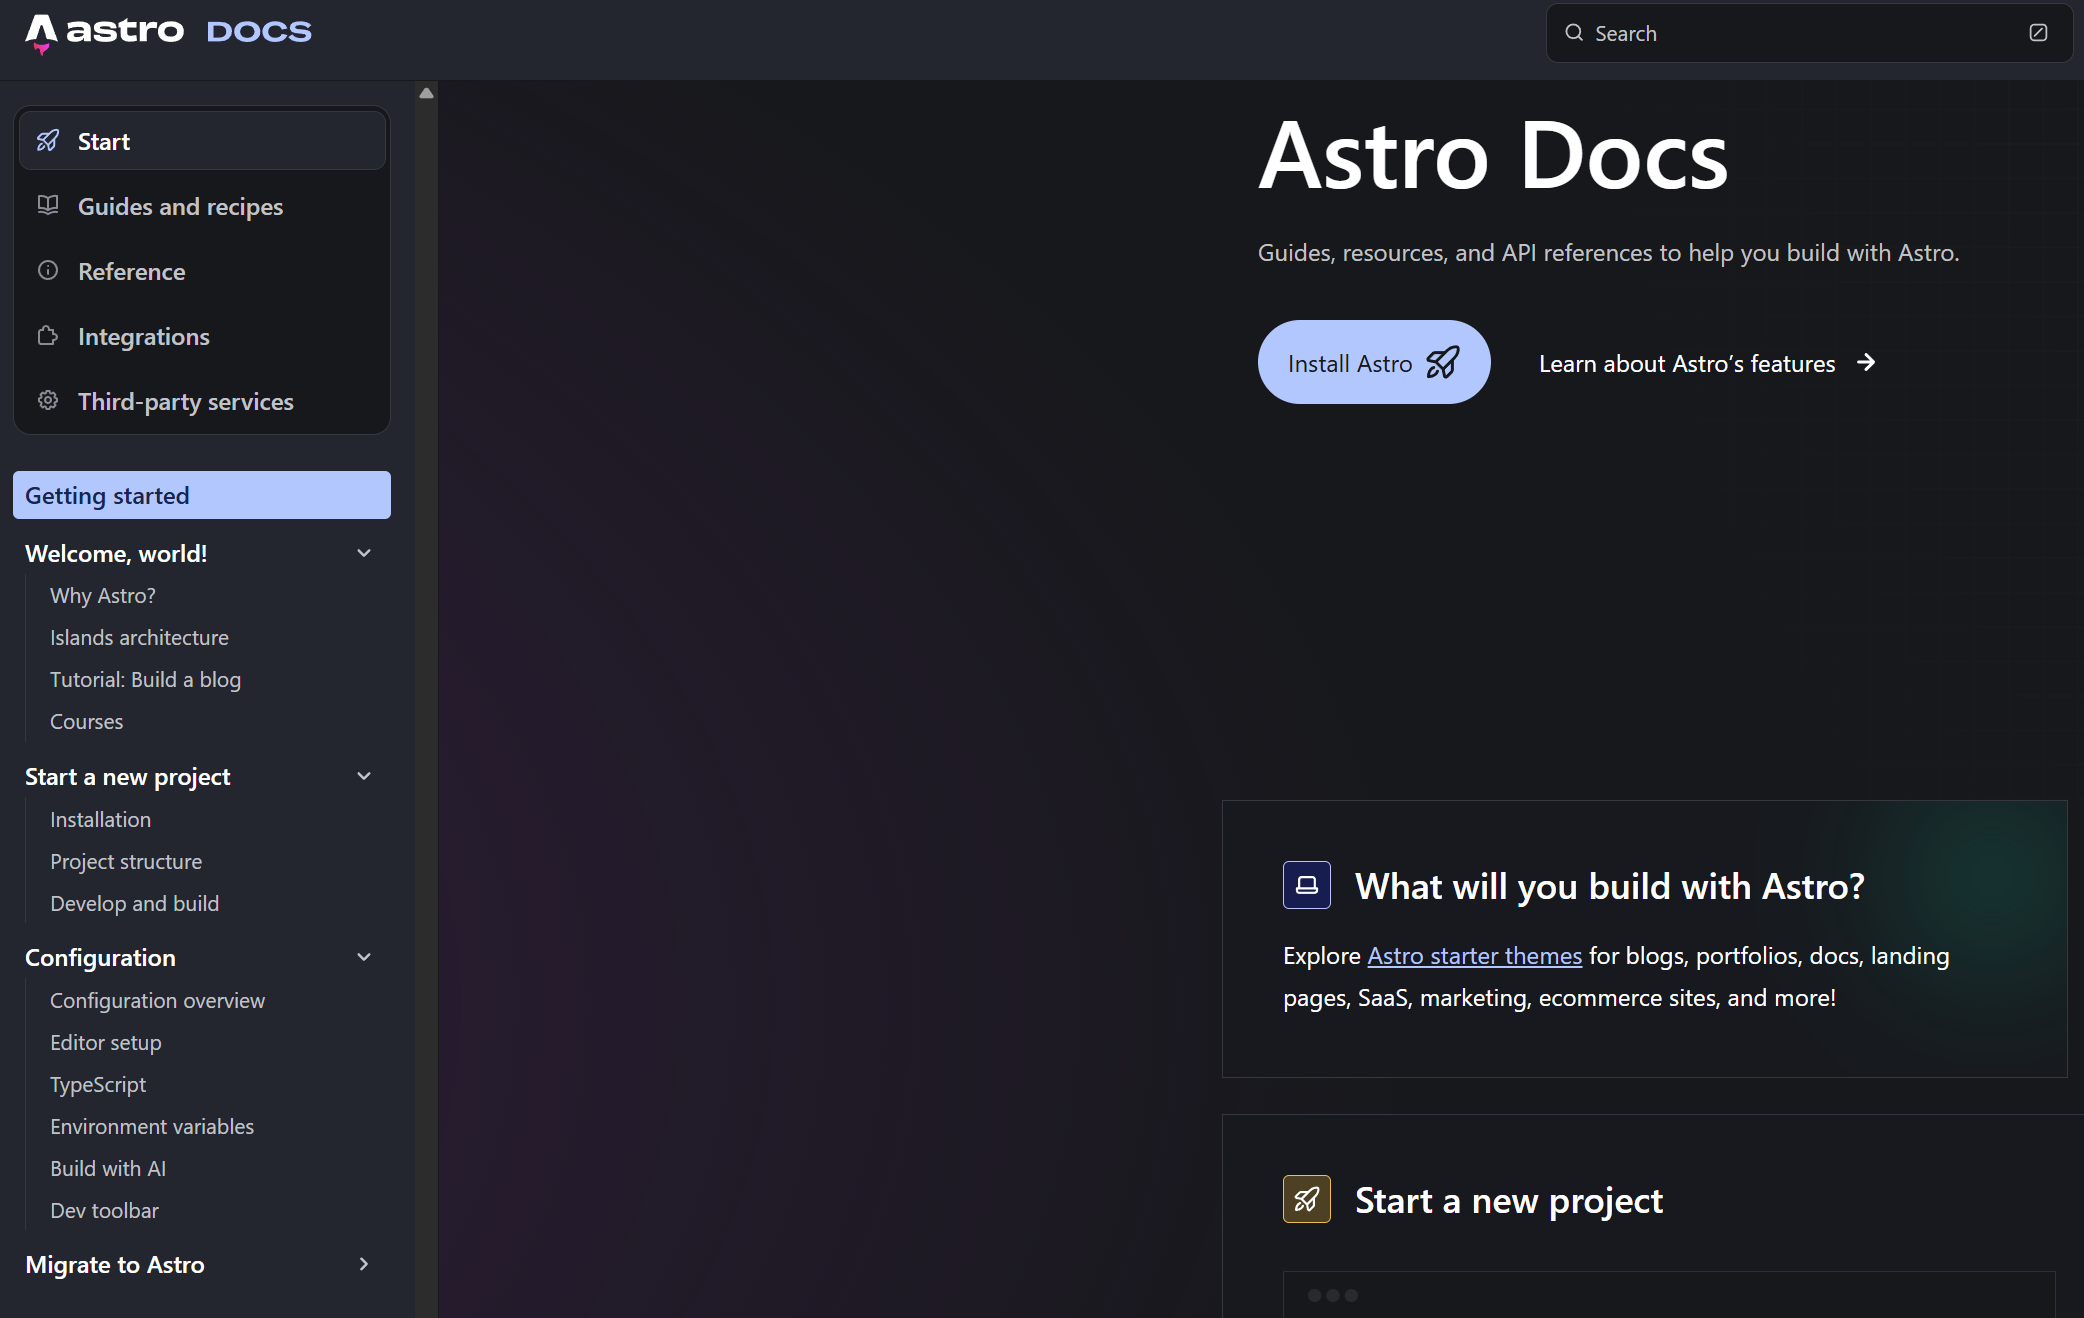
 Local Development: Beautiful Starlight interface at
 localhost:4321- Version Control: Source code at
https://gogs.cloudron.xyz/myuser/myastrowebsite - Live Website: Production docs at
https://surfer.cloudron.xyz/myastrowebsite/ - Professional Features: Search, responsive design, dark/light modes
- Self-Hosted: Complete control over your documentation infrastructure
The result is a professional, fast, and beautiful documentation website with a robust development and deployment workflow!
- Cloudron instance running at
Hello! It looks like you're interested in this conversation, but you don't have an account yet.
Getting fed up of having to scroll through the same posts each visit? When you register for an account, you'll always come back to exactly where you were before, and choose to be notified of new replies (either via email, or push notification). You'll also be able to save bookmarks and upvote posts to show your appreciation to other community members.
With your input, this post could be even better 💗
Register Login