@girish Just a suggestion it would be so much better to have the ability to set outbound providers credentials globally and then just bind/link them on the domain level. So in the event of an API refresh or in the case a port change, i dont have to go through hundreds of apps (in my case) manually update the effected field one by one..
affinity
Posts
-
No outgoing mail after last update via sendgrid -
No outgoing mail after last update via sendgridOkay, this is solved. Using port 2525 as an alternative seams to get past this current block... but i have reached out the DO as well. Thanks for helping!
-
No outgoing mail after last update via sendgrid@joseph yes... i have Digital ocean. I don't have a mailgun account so I cant test that. They already have port 25 block but thats why we have sendgrid to get around that.
-
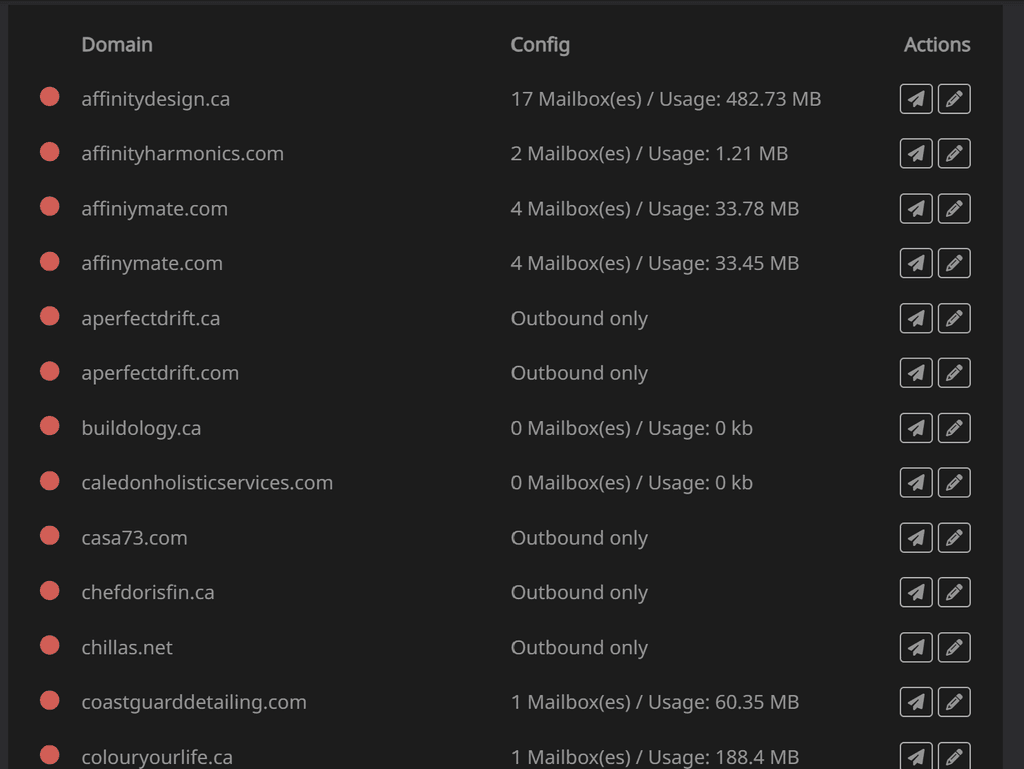
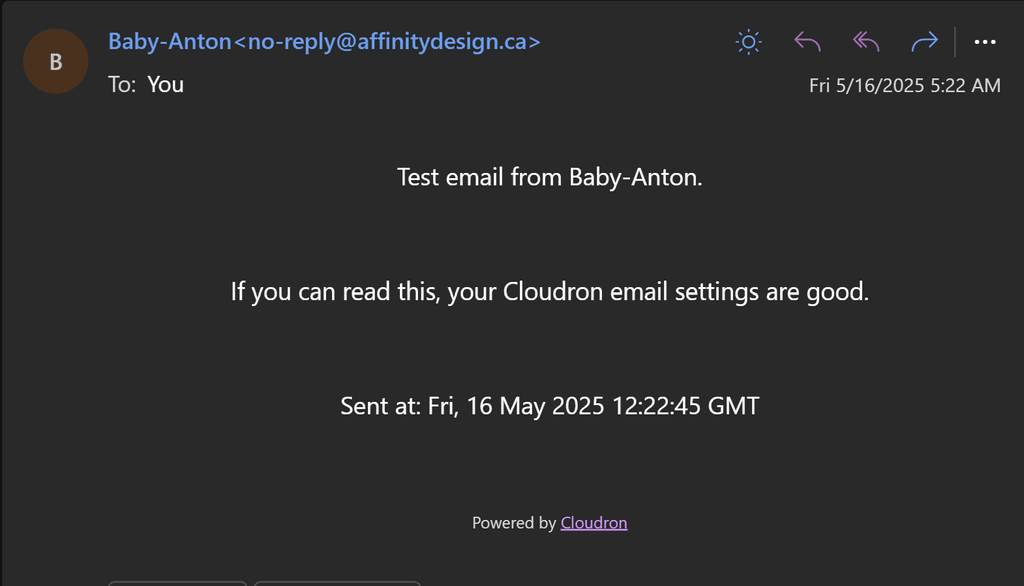
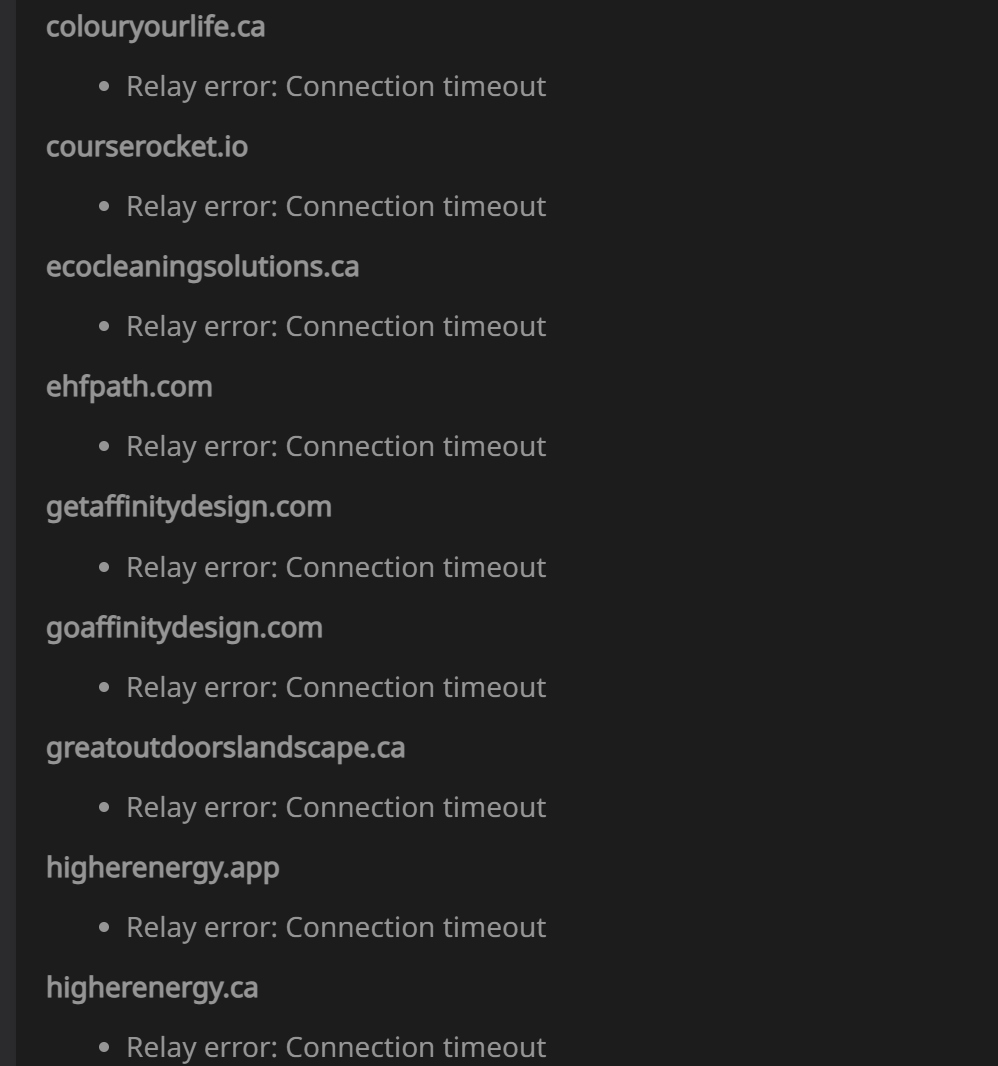
No outgoing mail after last update via sendgrid@joseph this works surprisingly but the outbound relay is failing for all internal emails. And nothing is able to send from any email or app. Restarting does not do anything. This went out on the last patch v8.3.2


-
No outgoing mail after last update via sendgrid@BrutalBirdie its brand new and only a fraction of the full string. no worries
-
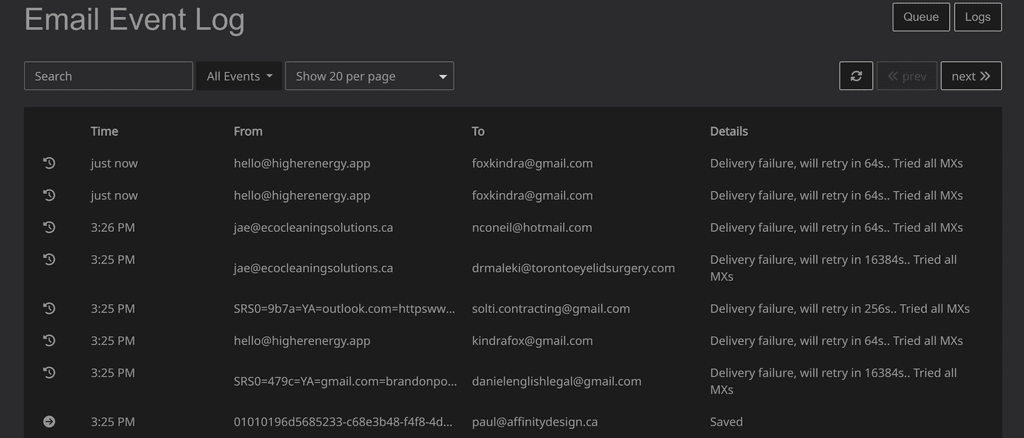
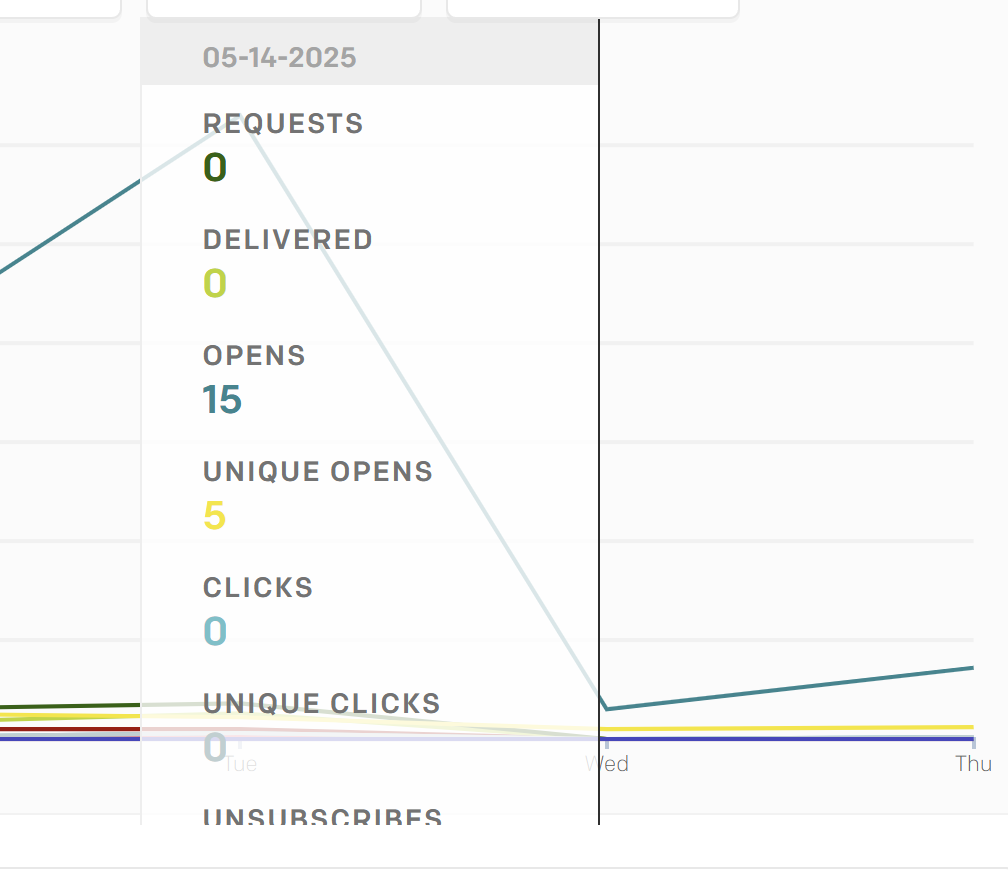
No outgoing mail after last update via sendgridHey guys noticing some weird behavior after the last update. @girish
- Connection timeout on API refresh
- all connected apps firing outbound email with SendGrid are failing
- 0 sending after update on Wednesday morning
(image with secret removed)

-
Problems Restoring Full Snapshot - Cloudron 8.0.3 - CIFS Restore Method@girish One thing to note, all stopped apps where not imported through the restore method even tho they had backups retained with them. We are still trying to find and recover those apps atm, but they must be buried in a random 2024-04-08-030000-684 folder. Never the less.
Is it possible to recover data from the snapshot folder? what is that for if backups pull from the other folders? I think our stopped apps are in there but Im not sure how to recover them through the front end that way.
One thing that would have made this process so much more seamless is just including that restore config file in the snapshot folder, and the corresponding configs for each app backup, would have saved us hours of finding the correct backup id manually for each method, since Im assuming they are slightly different?
-
Problems Restoring Full Snapshot - Cloudron 8.0.3 - CIFS Restore Method@girish it said gzip tarExtract pipeline error: Backup not found: affinitydesign-backup/2024-04-08-030000-684/app_academyoflifemontessori.com_v2.25.0.tar.gz
Its just really picky with the syntax. We did end up restoring successfully by uploading our backups to S3 and then setting the correct path.
We have abadoned the CIFS method now since it caused to much headache. A rep in our company pointed out that with that method, mnt/cloudronbackup was being appended to the backup path on the front end after the restore button was pressed, which you can see in the loom video, however it clearly failed to mount all the data and that was indeed what was throwing all those errors.
-
Problems Restoring Full Snapshot - Cloudron 8.0.3 - CIFS Restore MethodI was able to restore access through by uploading the backups to amazon S3, however it was not without one syntax issue that delayed the process
if the backup id is anything other then 2024-08-15-030000-742/box_v8.0.3 , it will through an error message, we had a slash like this /2024-08-15-030000-742/box_v8.0.3 it will through a broken path error, which was difficult to debug since we did not have the config file.
Still not sure why the CIFS mounts throughs an error though.
-
Problems Restoring Full Snapshot - Cloudron 8.0.3 - CIFS Restore MethodThe main problem
I can't restore any of the previous cloudron backups/snapshot into a new instance of cloudron successfully. Seams to load with errors and corrupt services. Not sure what to do.https://www.loom.com/share/d28ed53d01d848459937e13e114a79c8
issues.
Mail not importing
Multiple service failure
as soon I i restart any service, error messages popup and if I restart msql the may Linux high powered server service crashesThe apps look like they are together but I can't restart any red services as soon as i do it crashes everything.
I have tried several differnt backups dating back up to two weeks, and the errors still persist.
Fresh Ubuntu 20.04
Cloudron 8.0.3 install -
Is it possible to clone an app via API?I was looking through the API docs but don't see any commands to create new apps off previous backups. Is this even possible?
I basically would like to automate the clone of an application when someone orders it off us to a specific subdomain added to the api endpoint.
-
External Error: invalid stored block lengths@girish I think this could be the case, I tried to extract the Gzip and tar file inside but had an extraction failure, So I think the file may have been corrupted due to a faulty sector of the drive. Going to replace it shortly.
No, I didn't have any other redundancy. But hey, it happens.
-
External Error: invalid stored block lengths@girish It's a CIFS mount from another local Linx server.
-
External Error: invalid stored block lengthsHas anyone got this message while trying to import a backup?
Seams to be only affecting one app in my system but nonetheless not sure what may have caused this error, I have since backed up to a version 2 weeks ago but after that point the backups seem to fail. I need the data that was created inside since then but cant get a working restore after that point. Any thoughts?
Wordpress v2.25.0
v7.3.6 (Ubuntu 20.04.3 LTS)
-
Broken Login Screen: As of 5.0.6THANK YOU. I use Cloudflare as my DNS provider. Looks like they have some sort of caching feature called Cloudflare Rocketloader which caused this conflict. I Turned it off and it worked now. Much appreciated! @nebulon
-
Broken Login Screen: As of 5.0.6I am unable to login to the Cloudron admin after the last update. Apps seem to be running, but cloudron login is completely broken and unreachable. Ref: <link removed by admin>
Is there a way I can force an update to latest cloudron from my ubuntu end?
-
Error connecting Cloudron email to GmailGot this error after trying to add my cloudron email to Gmail online client! Does anyone know what it means?
Missing +OK response upon connecting to the server: * OK [CAPABILITY IMAP4rev1 LITERAL+ SASL-IR LOGIN-REFERRALS ID ENABLE IDLE AUTH=PLAIN] Dovecot (Ubuntu) ready.
-
Membership appWordpress plus membership plugin. I use Membership pro super cheap and takes no fees or monthly from you! Also connects to woo
-
Is it possible to convert Wordpress Managed site to Unmanaged?@d19dotca I cleaned up the post to make it much easier for future users to read!
No, To clarify, Step 3 in your instructions was not missed. The reason I lost my access to my LDAP user after the transfer was simply because the "Unmanaged Wordpress" App has LDAP included but not activated by default, therefore rendering my primary admin user account useless at login window after migration. (no matter how many times I restarted the app, it didn't fix the issue, this issue only happens migrating from managed to unmanaged version) If any users are importing a site into the destination of a "Managed Wordpress" App distribution, then none of this is relevant and Your instructions are 100% accurate and are all that's needed.
To clarify, In order to transfer your site from the managed app to an unmanaged app in Cloudron without getting locked out using this method make sure you prep one of the following options ...
-
Create a second admin account in wordpress before migration and use that upon signing into the new app. (which I did & recommend way easier)
-
Leave "Do not export Must-Use Plugins" uncheaked upon exporting backup file during migration. (Warning: This will transfer in Wp-Mail-SMPT, AuthLDAP, Disable Wordpress Core Updates, as Must Use plugins and mean you cant re-enable updates from admin without SFTP edits — Not recommended! )
-
If you already transfered and are locked out still and don't want to do it again, Activate the LDAP plugin from terminal -> mysql command | view this post for instructions.
-
-
Is it possible to convert Wordpress Managed site to Unmanaged?@murgero I agree!! It is a free open source distro that I modified originating from wordpress.org not their private paid product, as long as i don't distro this branch it should be okay.

